
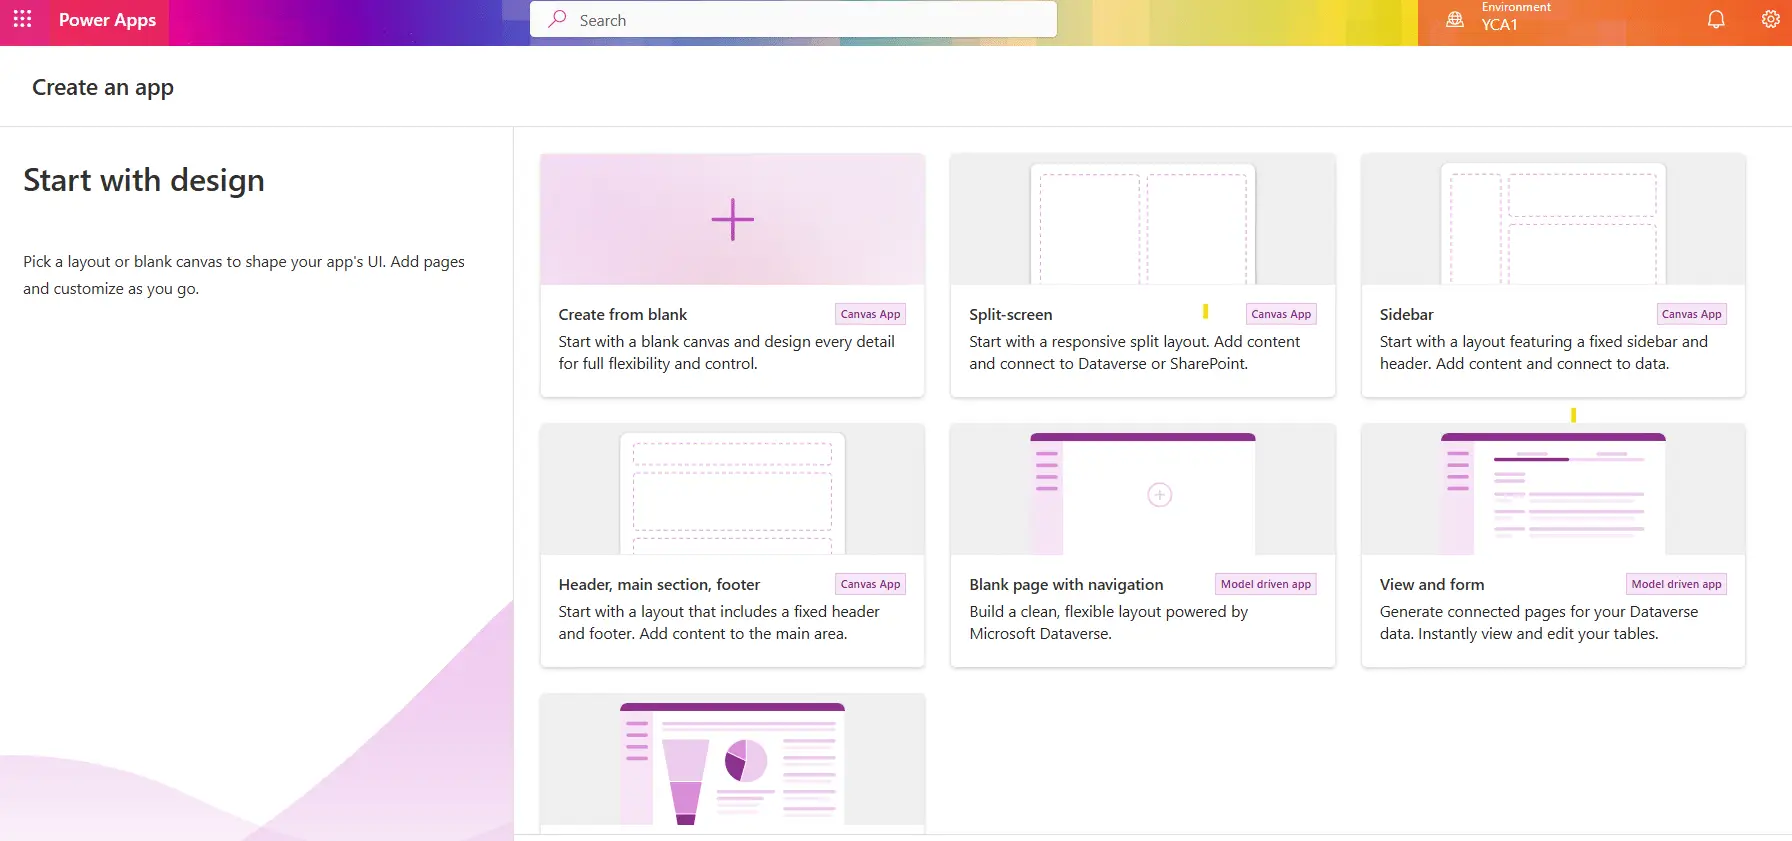
In this post, we’ll explore how beginners can start creating mockups in Power Apps and transform ideas into layouts and user experiences.
A mockup is a simple visual version of an app. It shows how the app will look and how users will move between screens, but it does not use real data or complex logic. Mockups are useful because they allow you to test ideas and designs before building the full app.
This document is designed to help you:
Learn what a Power Apps mockup is and why it is important
Become familiar with the main components used in mockups (such as screens, containers, and controls)
Create clear and organized app layouts
Test navigation and user experience early in the design process
By following the guidance in this document, you can design better mockups, avoid common mistakes, and feel more confident before starting full app development.

Mockup in Microsoft Power Apps (Canvas)
Mockups in Power Apps are visual sketches (usually created in canvas apps) that simulate the UI and basic navigation of an app without actual data connections or complex logic.
They help you review designs, flows, and usability before you start the app.
When you create a mockup, you build on screens and fill them with different controls (interface elements).

Here’s a clear breakdown of the key components we recommend using:
Screens mockup
- They are the main building blocks of any application.
- Each screen represents a page or view (e.g., home screen, detail, form, etc.).
- Properties: background color, image, height, and width (for responsive design).
- Multiple screens are created in a mockup, and simple navigation is added (for example, buttons that switch screens with the Navigate() feature).
Containers
- They are used to group and organize other controls in an orderly manner.
- Main types:
- Vertical Container: stacks items from top to bottom (great for forms or lists).
- Horizontal Container: Align elements next to each other (ideal for headers, toolbars, or rows of cards).
- Flexible Container: allows free positioning.
- Advantages: facilitates responsive design, reduces manual positioning, and gives a more professional and modern look.
Galleries
- They are used to display collections of items (lists, grids, or card views).
- In prototypes, the following are very common: vertical galleries for data lists or horizontal galleries for carousels.
- They can be populated with test data using Collections.
Forms and Cards
- Form: Used for data entry or editing views.
- Cards: Individual containers within forms or galleries (each usually has a label + input field).
Basic input and display controls
- Label: for texts, titles, and static information.
- Text Input: Fields where the user types.
- Button: For actions such as “Save,” “Next,” or navigation.
- Icon: Visual symbols (magnifying glass, menu, back arrow, etc.).
- Image: for logos, backgrounds, or visual elements.
Selection controls
- Dropdown / Combo Box
- Date Picker
- Toggle, Checkbox, Radio Buttons
Reusable components
- Custom items that are created once and can be used across multiple screens.
- Common examples in mockup:
- Navigation menu (sidebar or top)
- Header with logo and user information
- Pop-ups
- Indicators of achievement
Other useful elements
- Charts (bars, lines, pie)
- HTML Text (for advanced styles)
- Images and media

Best practices for prototyping in Power Apps
- Use containers instead of manually positioning controls.
- Start with a basic structure: header + content area + footer.
- Add test data with collections to make galleries and forms look realistic.
- Focus on the navigation flow (connect buttons between screens).
- Apply modern Microsoft themes, colors, and styles, striving for a fluid design.
In conclusion Mockup in Microsoft Power Apps
Mockups are a simple and creative way to explore app ideas before building anything complex. With Power Apps, beginners can quickly experiment with layouts, navigation, and user experiences—learning by doing and refining ideas along the way.
Now it’s your turn: open Power Apps, start a canvas app, and create your first mockup. Let your ideas spark, explore freely, and see where your creativity takes you.
Follow us on LinkedIn for more inspiration and practical tips, and subscribe to the Creativity Spark blog to stay updated with fresh ideas, tutorials, and creative insights. Let’s keep building and learning together.
Imagen: Freepik